
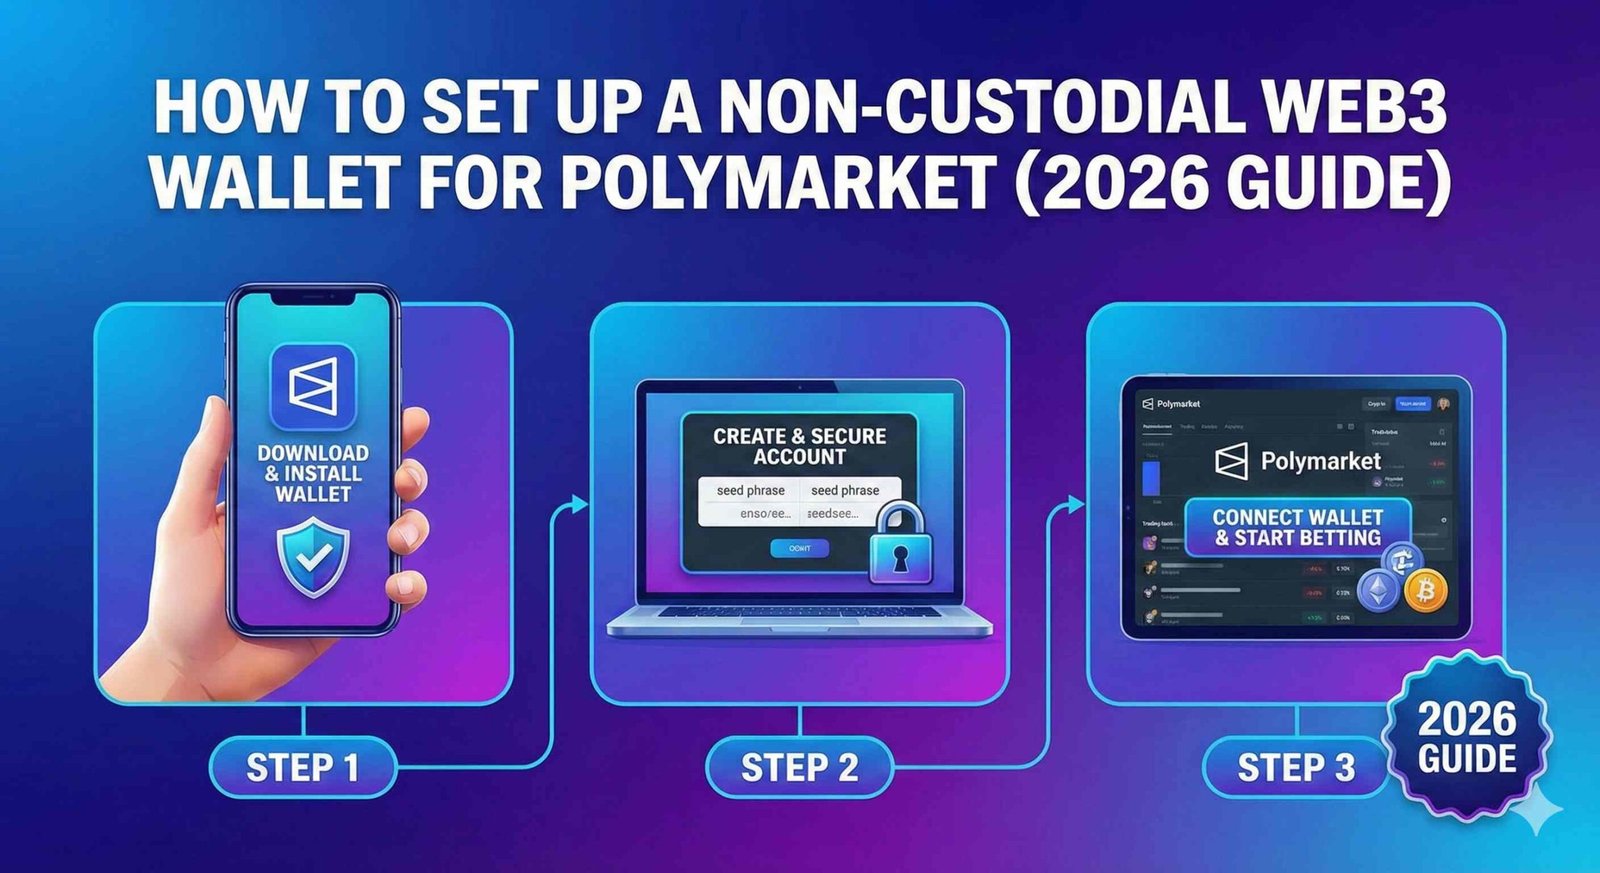
If you are trading on prediction markets in 2026, ownership is everything. While Polymarket’s email login (“Magic Link”) is convenient, it leaves your funds vulnerable to interface blocks, email hacks, or sudden regulatory shifts, a massive risk for US-based traders.
The solution? A noncustodial Web3 wallet.
This guide will show you exactly how to set up a self-custody wallet (MetaMask or Phantom) for Polymarket, ensuring you hold the keys to your betting portfolio, not a centralized server.
Why “Non-Custodial” Matters for US Traders?
In the post-2025 regulatory landscape, accessing global prediction markets requires resilience.
- Magic Link (Custodial-Lite): You log in via email. If Polymarket’s front-end blocks your IP or your email provider shuts you down, you lose access to your funds.
- Web3 Wallet (Non-Custodial): You log in with a private key. Even if the Polymarket website goes down or bans your region, you can still withdraw your funds directly from the Polygon blockchain using block explorers or alternative front-ends. You are the bank.
Step 1: Choose Your Wallet Provider
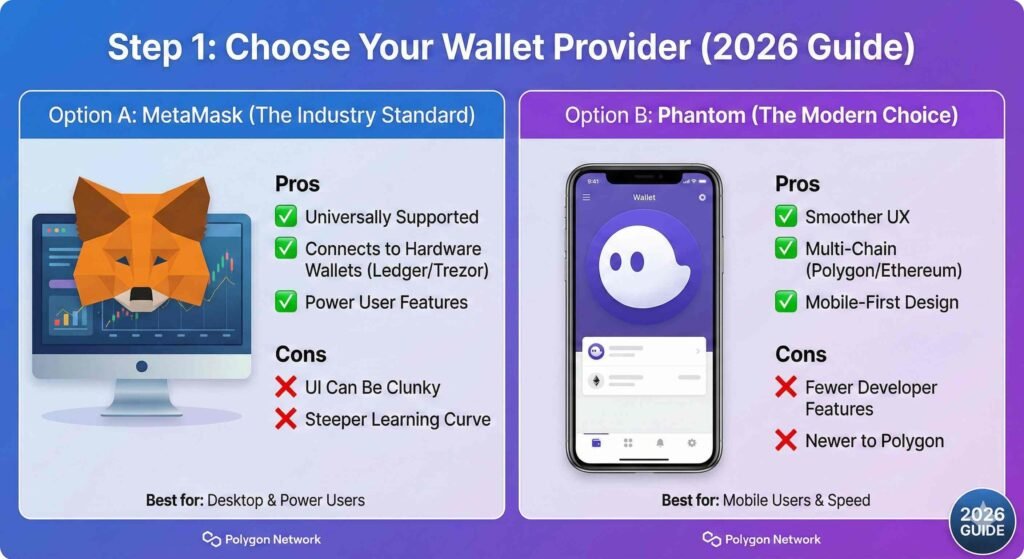
For 2026, the two best options for the Polygon network (which Polymarket runs on) are:
Option A: MetaMask (The Industry Standard)
- Best for: Desktop traders and power users.
- Pros: Universally supported, connects to hardware wallets (Ledger/Trezor).
- Cons: UI can be clunky for beginners.
Option B: Phantom (The Modern Choice)
- Best for: Mobile users and speed.
- Pros: Originally for Solana, Phantom now supports Polygon/Ethereum with a much smoother UX than MetaMask.
- Cons: Slightly fewer “developer” features.
Recommendation: We will use MetaMask for this guide, as it remains the most robust option for Polygon dApps.
Step 2: Install and Secure Your Wallet
- Download: Go to the official MetaMask.io website.
- Create Wallet: Click “Create a new wallet.”
- The Golden Rule: You will be shown a Secret Recovery Phrase (12 words).
- Write this down on physical paper.
- NEVER screenshot it.
- NEVER save it in Google Drive or Notes.
- If you lose this, your money is gone forever.
Step 3: Configure the Polygon Network
Polymarket does not run on Bitcoin or Ethereum Mainnet; it lives on Polygon (PoS) to keep fees near zero.
Most modern wallets add this automatically, but if you need to add it manually:
- Network Name: Polygon Mainnet
- RPC URL:
https://polygon-rpc.com/ - Chain ID:
137 - Currency Symbol: POL (formerly MATIC)
Step 4: Funding Your Wallet (The “USDC” Trick)
This is where 90% of beginners get stuck. You cannot bet with Bitcoin or Ether. You need USDC on Polygon.
The “Bridge” Method (For US Users)
Since many US exchanges (Coinbase/Kraken) utilize the Ethereum network by default, you must be careful not to send funds to the wrong chain.
- Buy USDC on your exchange (Coinbase/Kraken).
- Withdraw: Select your MetaMask address as the recipient.
- Select Network:CRITICAL STEP. You must select “Polygon” or “MATIC” network for the withdrawal.
- If you select “Ethereum (ERC20),” your funds will end up on the wrong network, and you will pay high gas fees to bridge them later.
- Gas Fees: You used to need MATIC tokens to pay for gas. However, Polymarket uses a “Relayer” system (Gas Station Network), so they pay the transaction fees for your trades. You technically only need USDC to start.
Step 5: Connecting to Polymarket
- Navigate to
Polymarket.com. - Click “Log In / Sign Up” in the top right.
- Select “MetaMask” (or “WalletConnect” for mobile).
- Sign the Request: Your wallet will pop up asking for a signature. This costs $0 and simply proves you own the wallet address.
The “Proxy” Secret
When you connect, Polymarket creates a Proxy Wallet (a smart contract) on the blockchain that is exclusively controlled by your MetaMask address. This allows them to execute trades faster.
- Verification: You can view your Proxy Wallet address in your profile settings. This is where your funds actually sit while you are trading.
Troubleshooting Common Issues
Q: I sent USDC, but my balance is $0?
A: You likely sent Native USDC, but Polymarket uses Bridged USDC (USDC.e).
- Fix: Look for a “Deposit” or “Activate Funds” banner on Polymarket. Their UI will prompt you to swap your Native USDC for USDC.e using a gasless transaction.
Q: Can I use a VPN?
A: While many US traders use privacy tools to protect their data, be aware that Polymarket’s Terms of Service may restrict US usage. A noncustodial wallet ensures that even if your access is blocked, your funds remain yours on the blockchain.
Q: How do I withdraw if the website goes down?
A: This is the beauty of noncustodial wallets. You can use a tool like Polyscan to interact directly with the USDC contract and transfer funds out of your wallet without ever needing the Polymarket website.
Video Walkthrough
For a visual guide on the deposit process (specifically the “Bridged” vs “Native” USDC confusion), check out this tutorial:
